
Austin kitchen process guide
The Kitchen Remodeling Process: A Step-by-Step Austin Guide
The kitchen remodeling process starts with a written scope, layout, and material decisions. Construction then moves through protection, demolition, rough work, cabinets, countertops, and finishes before the final walkthrough. Here’s what to decide before each stage.

By New Life Painting and Remodeling · Published
Use this guide to understand the order of work and your decisions at each handoff. For duration or pricing, use the linked kitchen timeline and cost guides; the sequence below is adjusted to the products, existing conditions, and approved work in your home.
1. Start with the kitchen problems you want to solve
Write down what makes the room frustrating on an ordinary Tuesday. Maybe the dishwasher blocks a drawer, the pantry is hard to reach, or two people cannot cook without getting in each other’s way. Those problems give the remodel a purpose. A folder of beautiful kitchens helps with style, but it cannot decide how your own room should function.
Separate the work into must-haves, optional improvements, and items that should stay. Keeping usable cabinets, preserving the appliance layout, and replacing every surface are different project scopes. Tell the contractor which version you are considering before comparing estimates. Otherwise, two totals can look far apart simply because they describe different kitchens.
For an Austin-area home, include the rooms that connect to the kitchen. New flooring may need to meet an existing hallway. Removing a cabinet can expose unfinished wall or floor surfaces. A written scope should account for these edges so the finished room does not stop abruptly at the doorway.
2. Settle the layout and appliance details before ordering
Review cabinet openings, appliance doors, drawers, walking routes, and where people will sit. An island that looks generous on a plan can become an obstacle when a refrigerator door opens. Ask to review how the room will work with doors and drawers in use, including nearby room entrances and the route for carrying groceries inside.
Select exact appliance models early. A refrigerator’s depth, range requirements, dishwasher opening, and ventilation needs can affect cabinets and utility planning. The same applies to a large sink, an apron-front sink, or a microwave intended for a particular cabinet. A product name and specification sheet are more useful than a general description such as ‘standard size.’
If a wall or opening may change, have that condition evaluated before treating it as part of the final layout. Appearance alone does not establish what a wall supports or what runs through it. Keep the design decision, required professional review, and construction scope connected rather than solving them separately after demolition.
- Confirm appliance model numbers and installation requirements.
- Review door swings, drawer clearance, and seating access.
- Identify retained cabinets, flooring, and adjacent finishes.
3. Turn selections into a written scope and ordering plan
A cabinet finish, countertop, backsplash, and floor should be chosen as a group. Look at samples together in the room when possible. Then record the specific products, quantities or allowances, edge details, hardware, and responsibilities. ‘White cabinets and quartz’ leaves plenty of room for two people to picture different results.
Ask which items must be available before the kitchen comes apart. Cabinets, specialty hardware, sinks, and appliances can affect later installation steps. The plan should identify who orders each item, who checks deliveries, where materials will be stored, and what happens if something arrives damaged or incomplete. A delivery estimate is different from having the right pieces ready for installation.
Make exclusions equally clear. Are appliance connections, backsplash removal, painting, cabinet hardware, disposal, and floor transitions included? What happens if concealed damage is found? Agree on how added work and schedule effects will be documented. This gives you a practical way to evaluate a change before it becomes an unexpected invoice.
4. Confirm approvals and prepare your household
Check the permit path for the actual property and work before construction starts. The City of Austin lists qualifying kitchen remodels under its residential Express Permit program, with limits on wall changes, fixture relocation, and drywall removal. Work outside those limits can need a different application. Applicable trade permits can also be involved. Keeping the same layout does not, by itself, settle the permit question.
A Cedar Park, Round Rock, Georgetown, or Leander address should be checked with the authority responsible for that property. An Austin mailing address is not enough to establish jurisdiction. Document who will confirm requirements, submit applications, coordinate regulated trades, and arrange required inspections. Do not plan the start date around an assumed approval time.
Before the crew arrives, empty cabinets and nearby storage, relocate fragile items, and agree on access and material staging. Set up a temporary food area away from construction. Discuss which utilities and appliances will be unavailable, whether the refrigerator can remain accessible, and how you will handle meals during the disruption. The coffee maker deserves a plan too.
5. Protect the home, remove old finishes, and resolve rough work
Protection comes before removal. Review the work boundary, routes through the house, adjacent surfaces, and where debris will leave the property. If you are staying home, establish how children and pets will stay outside the work area and how the crew will communicate about access or utility interruptions.
Once old materials are removed, the exposed room may reveal conditions that could not be seen during the estimate. Ask for an explanation and documentation of any proposed repair. A useful change discussion identifies the condition, the work needed, its cost, and its effect on the next stage. Avoid approving an unclear ‘extra’ simply to keep activity moving.
Framing changes and applicable plumbing, electrical, or ventilation work are coordinated before the relevant surfaces are closed. Required inspections belong in that sequence. This is also the time to confirm that the installed locations still match the approved cabinet and appliance plan. Correcting a mismatch is easier before new finishes cover the work.
6. Prepare surfaces, install cabinets, and measure countertops
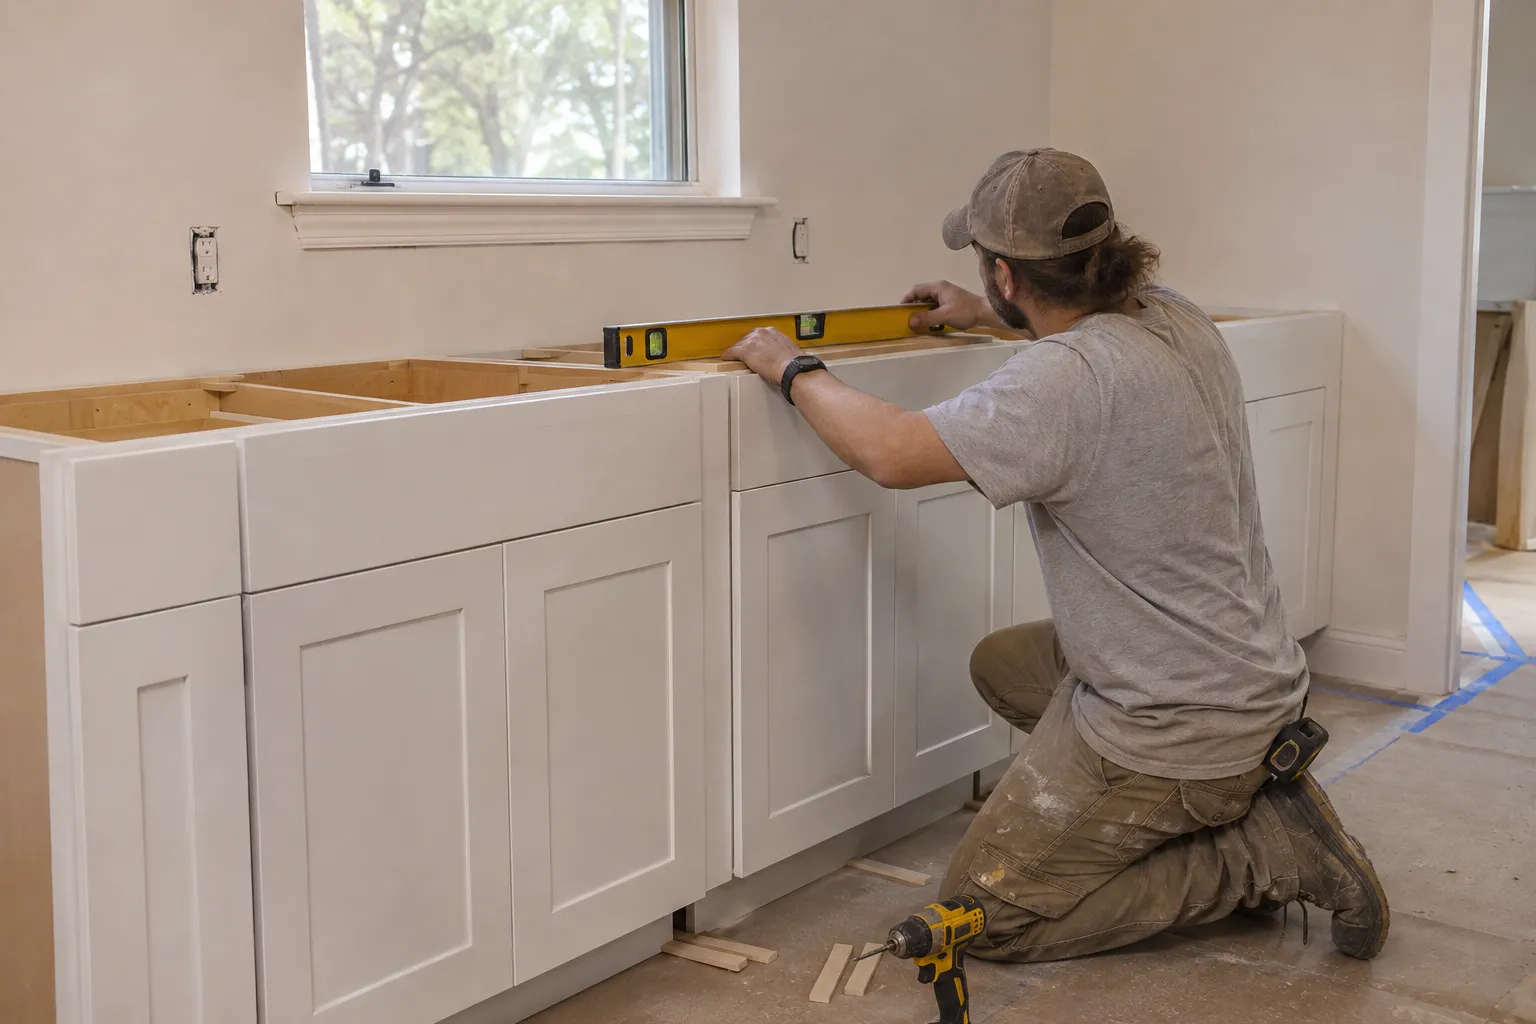
Wall and floor preparation should match the materials being installed. Ask how out-of-level or damaged surfaces will be addressed and where new finishes meet existing ones. This matters especially when the kitchen opens into a living area and a small mismatch will be visible across a long sightline.
Flooring and cabinet order is a product-specific decision. Some floating floors cannot be trapped beneath permanent cabinetry or islands. Other systems have different installation requirements. Have the contractor explain the planned order using the selected products, including movement space and transitions, rather than relying on a universal rule from an online checklist.
Base cabinets generally need to be installed and secured before final countertop measurements. The fabricator also needs the approved sink and cutout information. There may be a gap between cabinet installation and countertop installation; discuss that handoff when reviewing the schedule. Use it to confirm remaining decisions instead of assuming the kitchen is ready because the cabinets are standing.
7. Complete the backsplash, fixtures, and connected finishes
Once the preceding surfaces are ready, the remaining work may include backsplash tile, fixture installation, appliance connections, hardware, lighting, trim, and painting. The exact order depends on the selected systems and scope. Confirm when the room can be used, rather than treating the arrival of a sink or stove as permission to put everything back.
Small finish decisions matter here: where tile ends, how an exposed cabinet side looks, how trim meets new flooring, and whether wall touchups blend with adjacent rooms. Put these details on the scope early. They are easier to coordinate when everyone knows the expected finish boundary before installation.
Our open kitchen and living-space case study shows a completed New Life project with coordinated cabinetry, an island, storage, flooring, and surrounding finishes. Use the photos to discuss the connections you want in your own home. They do not establish a price or completion time for a different project.
8. Walk through the finished kitchen with a written list
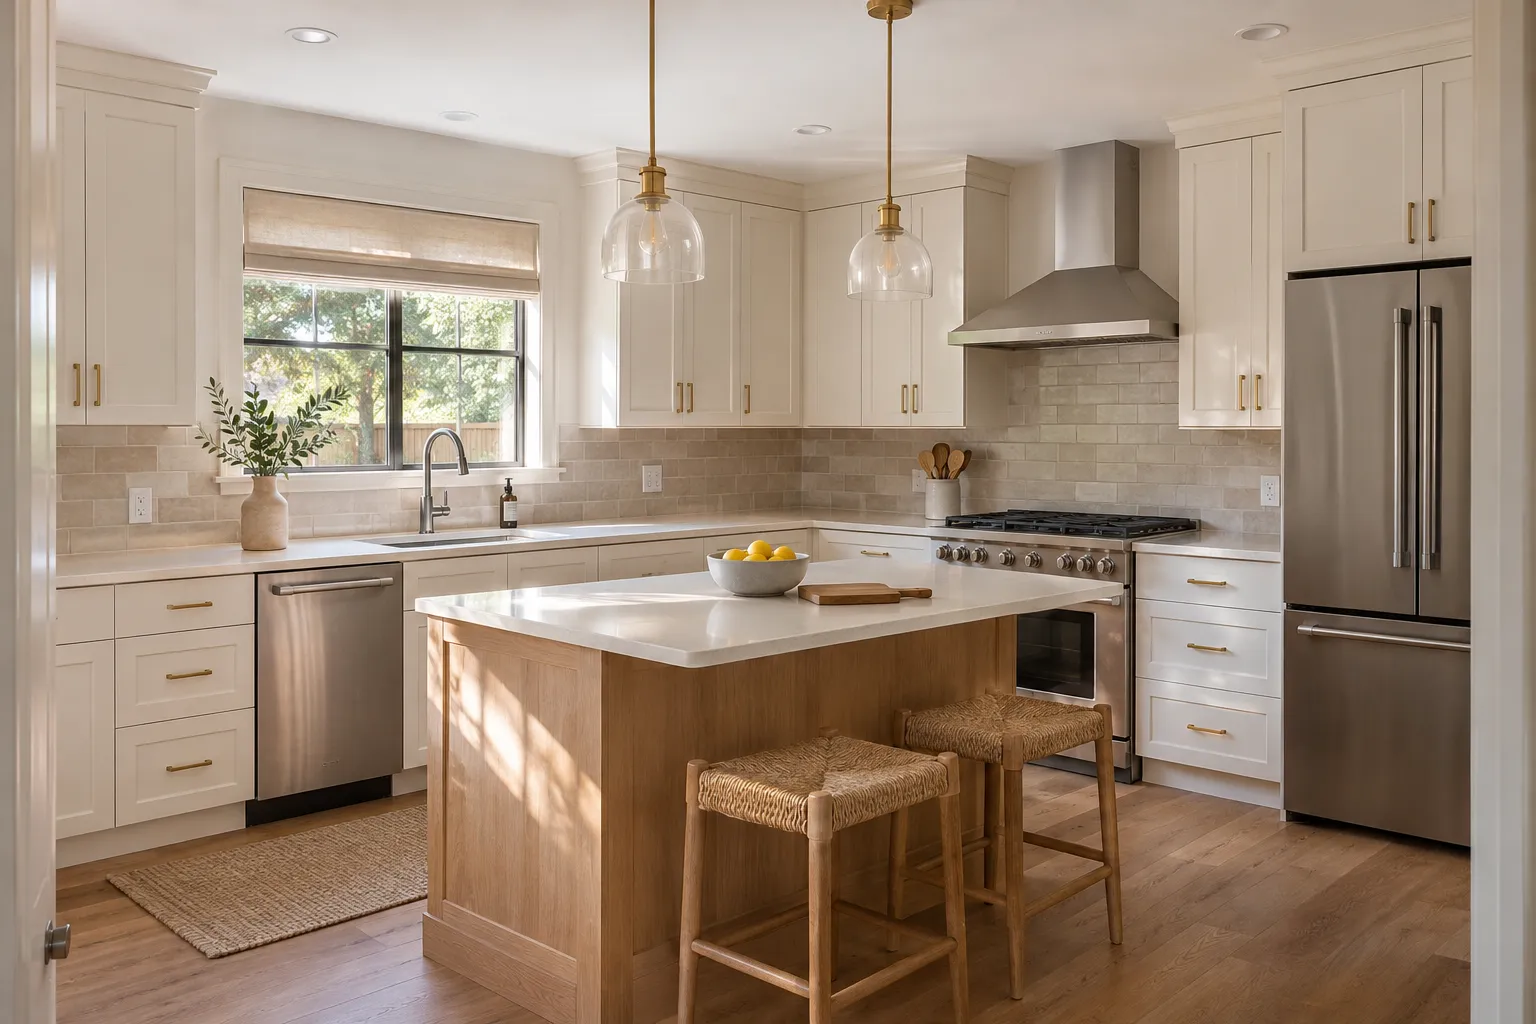
Review the kitchen with the agreed scope in hand. Open cabinet doors and drawers, look at finish transitions, review installed hardware, and discuss any remaining adjustments. Record each outstanding item and who will handle it. If the project required inspections, ask how completion of those requirements is documented.
Collect product information and care instructions for the surfaces and fixtures you selected. Ask when newly installed materials can be cleaned or used and which products to avoid. Store appliance model numbers and finish details together so a future replacement does not turn into a guessing game.
Ready to plan your own kitchen? New Life Painting and Remodeling is based in Leander and serves Austin-area homeowners. Share your city, current-room photos, and the changes that matter most. We can discuss the room and prepare a free written estimate; communication is available in English and Spanish.
Before demolition: your decision checklist
- Written scope, retained items, exclusions, and finish boundaries are clear.
- Exact product selections and ordering responsibilities are recorded.
- Applicable approvals, trade responsibilities, and inspections are addressed.
- Appliance specifications, cabinet layout, and countertop handoffs are coordinated.
- Temporary meal preparation and kitchen outage periods are discussed.
- Access, protection, updates, and written change decisions have an agreed process.
Kitchen remodeling process FAQs
What is the first step in a kitchen remodel?
Start by defining what needs to work better and what you want to keep. A site visit, layout review, and written scope should come before ordering cabinets or scheduling demolition.
In what order should a kitchen be remodeled?
A full remodel generally moves from planning and selections to protection, demolition, rough work and required inspections, surface preparation, cabinets, counters, and final finishes. Flooring order depends on the flooring product and cabinet installation requirements.
Do cabinets or countertops go in first?
New base cabinets generally need to be installed and secured before the countertop fabricator takes final measurements. Confirm the selected sink, faucet, appliances, and cutout details before fabrication.
Should flooring go under kitchen cabinets?
It depends on the flooring system. Some floating floors must remain free to move and should not be pinned by permanent cabinets or islands. Follow the exact flooring and cabinet installation requirements rather than assuming one order fits every kitchen.
When should I buy appliances for a kitchen remodel?
Select the exact appliance models before finalizing cabinet openings and utility locations. Coordinate delivery and storage with the construction schedule so dimensions are settled early without leaving appliances in the work area.
How do I prepare to live at home during a kitchen remodel?
Agree on work boundaries, access, kitchen outage periods, and a temporary food-preparation area before demolition. Clear nearby storage, keep children and pets away from the work area, and discuss daily cleanup and communication.
Planning references
Permit guidance checked November 12, 2026: City of Austin Express Permits and Residential Plan Review. Confirm the requirements for your property and approved scope.
Product-specific examples: Cambria’s countertop measurement and installation guidance and Urban Surfaces’ guidance on cabinets and floating floors. Your selected products determine the installation requirements.
Written by New Life Painting and Remodeling, a Leander-based business serving Austin-area homeowners. Our project case studies are linked above so you can review our work alongside this planning guidance.
From research to a written scope
Plan the next step for your kitchen.
Share your city, the rooms you want to change, and what matters most. New Life is based in Leander and serves Austin-area homes. We follow up to discuss the project and next step. Estimates are free; communication is available in English and Spanish.
Tell us what needs to work better, what you want to keep, and which decisions you have already made. Current-room photos help us prepare for the conversation.
Free estimates
Ready to plan your kitchen remodel?
Share your city, your room, and what you want to improve. We’ll discuss the scope and prepare a free written estimate for your home.