
Austin bathroom process guide
The Bathroom Remodeling Process: A Step-by-Step Austin Guide
The bathroom remodeling process starts with scope, layout, and product selections. Construction then moves through protection, demolition, rough work, wet-area preparation, tile, fixtures, and glass before the final walkthrough. The key is knowing which decisions each stage needs.
By New Life Painting and Remodeling · Published
Use this guide to understand the order of work and your decisions at each handoff. For duration or pricing, use the linked bathroom timeline and cost guides; the sequence below is adjusted to the products, existing conditions, and approved work in your home.
1. Decide how much of the bathroom needs to change
Start with the daily problem. Is the shower hard to clean? Does the vanity lack storage? Is the room cramped because of its layout, or does it mostly need updated finishes? A bathroom remodel works better when the scope answers those questions before a particular tile or faucet becomes the center of the plan.
Separate a cosmetic update from a wet-area rebuild or full-room remodel. Changing paint and hardware leaves a different set of existing conditions in place than replacing the shower, vanity, floor, and lighting. Write down what stays and what comes out, including mirrors, towel bars, doors, baseboards, and the finishes outside the immediate shower area.
Include the whole household in this first conversation. A guest bathroom may need easy maintenance; a primary bathroom may need storage for two people. If easier entry or support features matter, describe the person’s needs and review them with the project team. A style label such as ‘walk-in shower’ does not settle the entry, space, or usability details.
2. Coordinate the layout, fixtures, tile, and storage
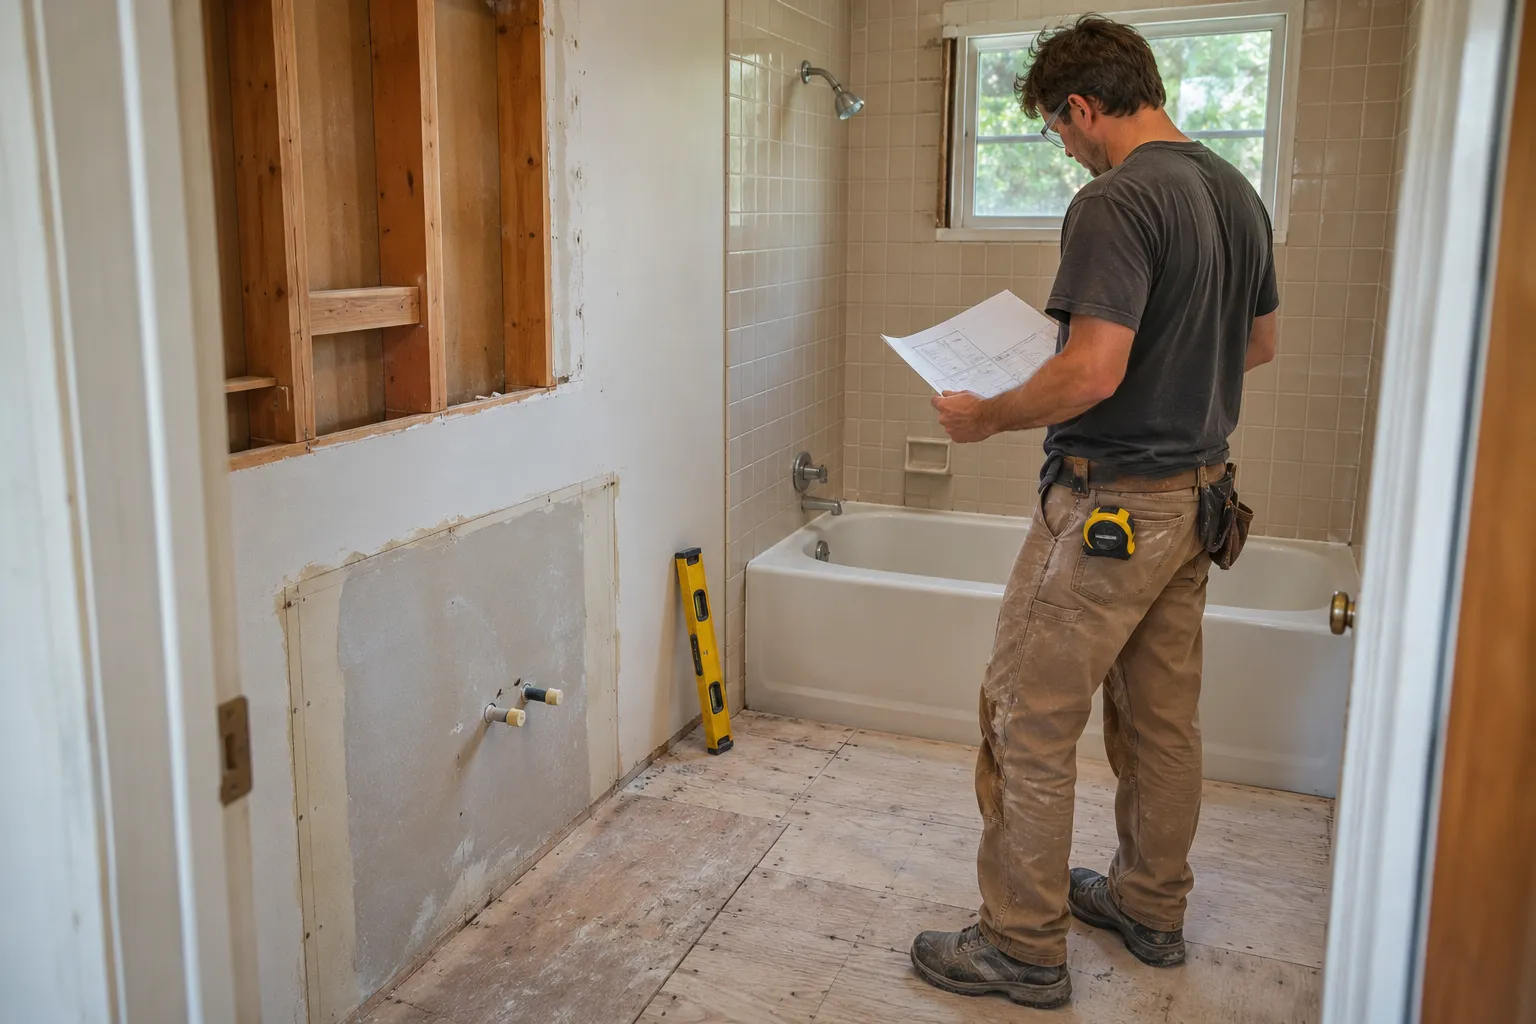
Review the room with doors and drawers open. Consider the vanity depth, toilet area, shower entry, towel reach, and where you will place toiletries. A larger vanity may add storage while making the walking route tighter. Compare the actual dimensions of the products you are considering with the usable room, rather than assuming they fit because the product category sounds right.
Choose the shower fixture system early enough to coordinate its compatible rough components. The visible trim and the parts inside the wall must work together. Niches, benches, accessory locations, and any backing needed for future support features should also be discussed before surfaces are closed. These are construction decisions as much as decorating decisions.
Bring tile, grout, vanity finish, countertop, hardware, and lighting choices together. Record exact selections and any allowances in writing. Ask how tile edges, niche returns, transitions, and the shower opening will be finished. A sample board helps you see colors; a clear scope explains how those colors become a complete room.
- Confirm fixture models and compatible rough components.
- Review shower entry, door movement, and storage access.
- Settle niche, bench, accessory, and tile edge details.
3. Confirm the permit path and the materials needed to start
Check requirements for the address and proposed work before scheduling demolition. Austin’s residential Express Permit program includes qualifying bathroom remodels and tub/shower conversions, subject to limits on wall changes, fixture relocation, and drywall removal. Larger changes can need a different review path. Trade permits may also apply. A small room does not automatically mean a permit-free project.
For a home in Leander, Cedar Park, Round Rock, or Georgetown, confirm the responsible jurisdiction instead of copying Austin’s rules. Document who will verify the requirements, arrange applicable approvals, and coordinate regulated trades and inspections. Review what happens if the scope changes enough to affect the original approval path.
Check the availability of the vanity, tile, shower components, tub, and specialty items. Assign ordering, delivery inspection, and storage responsibilities. Ask which items must be on hand before each stage and which will be measured later. Glass is an important example: its general style can be chosen early, while final dimensions may depend on finished surfaces.
4. Plan bathroom access, then protect and open the room
Agree on the household plan before anyone removes a fixture. Ask when the shower, toilet, and sink will be unavailable and whether the entire room will be out of use. If this is the only bathroom, an alternative plan needs to be settled before the start date. A room that still contains a toilet is not necessarily a room that can safely be used.
Clear medicine cabinets, under-sink storage, shelves, and adjacent surfaces. Discuss the route for carrying materials and debris through the home, how nearby rooms will be protected, and where tools will be stored. Confirm a point of contact and how you will receive updates when a decision is needed during the workday.
Demolition exposes conditions that a finished wall or floor may have hidden. If damage or another unexpected condition appears, ask for documentation and a proposed response. Record what changes, why it is needed, and how price and sequencing are affected. The goal is to resolve the opened room properly before covering it again.
5. Complete rough work and confirm what will be concealed
With the approved areas open, the team can address included framing, repairs, plumbing, electrical, and ventilation coordination. Required inspections must happen at the appropriate stages. Ask which work needs review before it can be covered, and make sure those handoffs appear in the plan rather than being treated as last-minute interruptions.
Recheck the installation locations against the selected fixtures and cabinetry. Confirm the intended mirror and lighting relationship, vanity position, shower controls, and accessory locations. A measurement made for a different product can create a problem even when each individual component is new. Reviewing the actual selections now helps prevent a finish-stage surprise.
Ask whether you can keep photographs of the completed rough work and any relevant inspection records. These can be useful when discussing future repairs or accessories. Photographs support your project records, but they do not replace required inspections or establish that a concealed assembly meets its specifications.
6. Prepare the wet area before setting tile
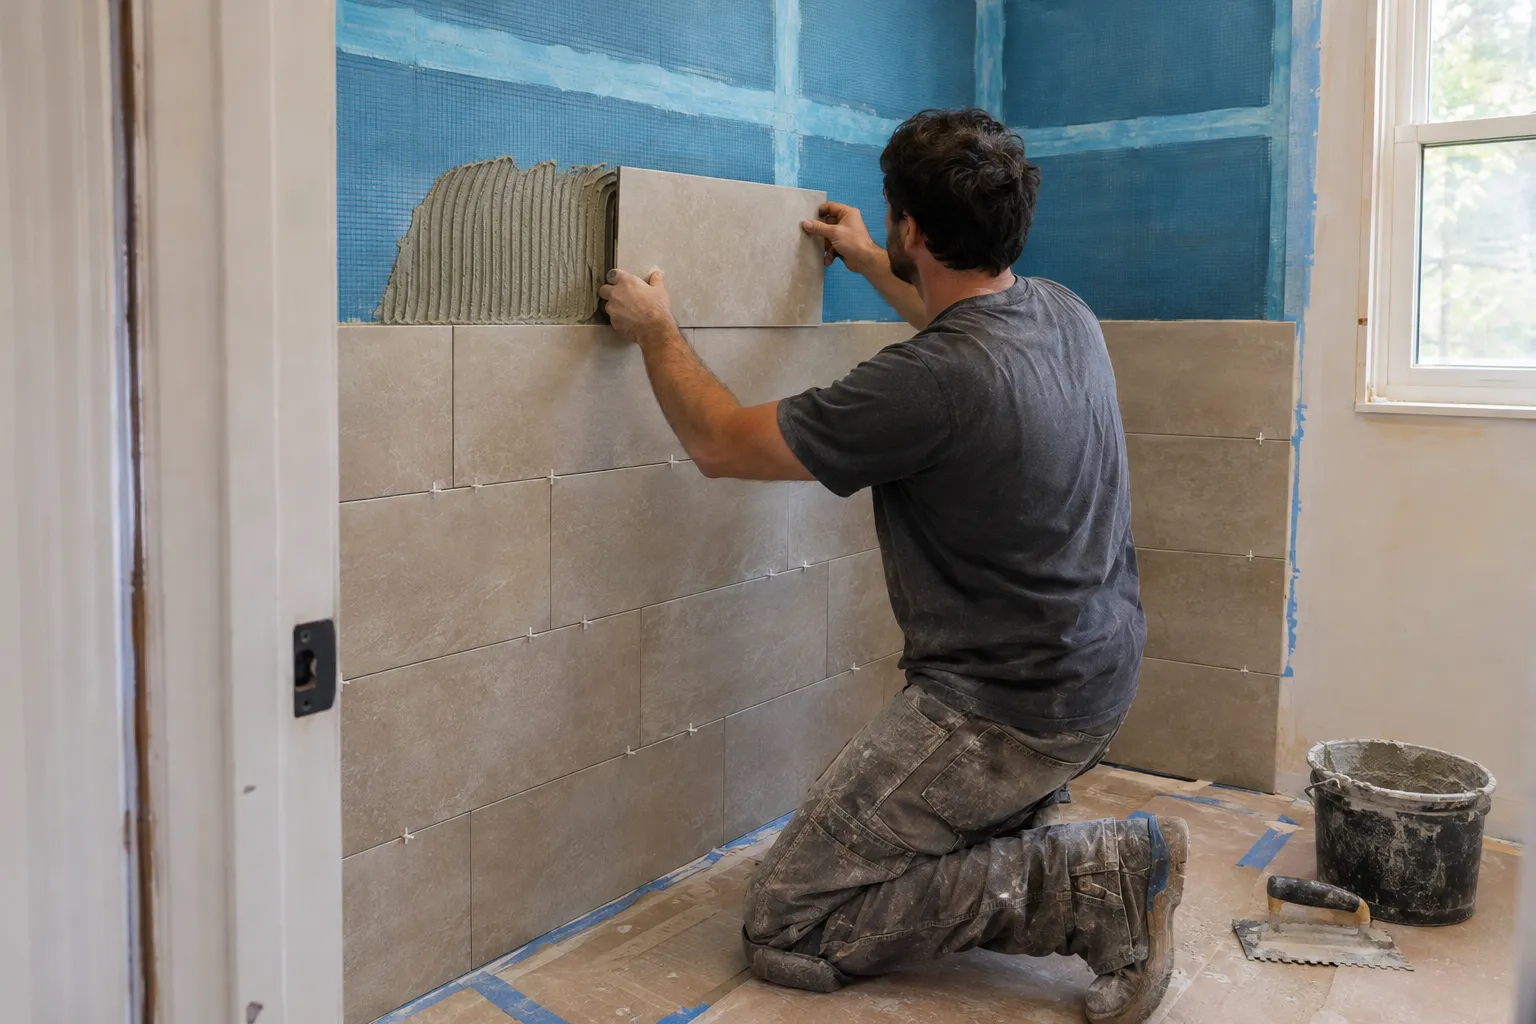
A shower needs a coordinated assembly beneath its finish. Discuss the selected substrate, waterproofing, drain connection, corners, penetrations, niche, and bench details with the installer. Follow the exact system’s preparation, testing, and curing requirements. This guide describes the planning sequence; it is not an installation specification for your shower.
Schluter’s shower-system resources organize waterproofing, drains, and substrates as parts of a complete system. That is a helpful way to frame the conversation even if your project uses another manufacturer. Ask which assembly is specified and how its components work together. A finished tile photograph cannot show every connection underneath it.
Before tile installation, review layout decisions such as where cuts land, how patterns continue, how niches line up, and where edges finish. Then allow the selected setting and grouting products their required conditions and time. Ask when the area can be walked on, cleaned, or exposed to water rather than estimating from how dry the surface looks.
7. Install the vanity, fixtures, glass, and final finishes
The visible room comes together as the vanity, counter, sink, plumbing trim, lighting, mirror, accessories, paint, and other finishes are completed. Their order depends on the actual products and preceding work. A vanity top may need a separate measurement or installation handoff, just as a custom shower enclosure does.
Coordinate shower glass early while recognizing that final measurements commonly wait for the finished opening. Ask what the supplier needs to measure, when fabrication starts, and how installation affects first use. The bathroom can look nearly finished while the shower still needs glass, sealant, or another final step before it is ready.
Our primary-bathroom case study shows a New Life project with a custom walk-in shower, niche, glass, vanity, and freestanding tub. Use that work to discuss details you want to include or avoid. Its photographs show a real completed room; they are not a promise that your home will have the same scope, cost, or construction duration.
8. Review the completed bathroom and first-use instructions
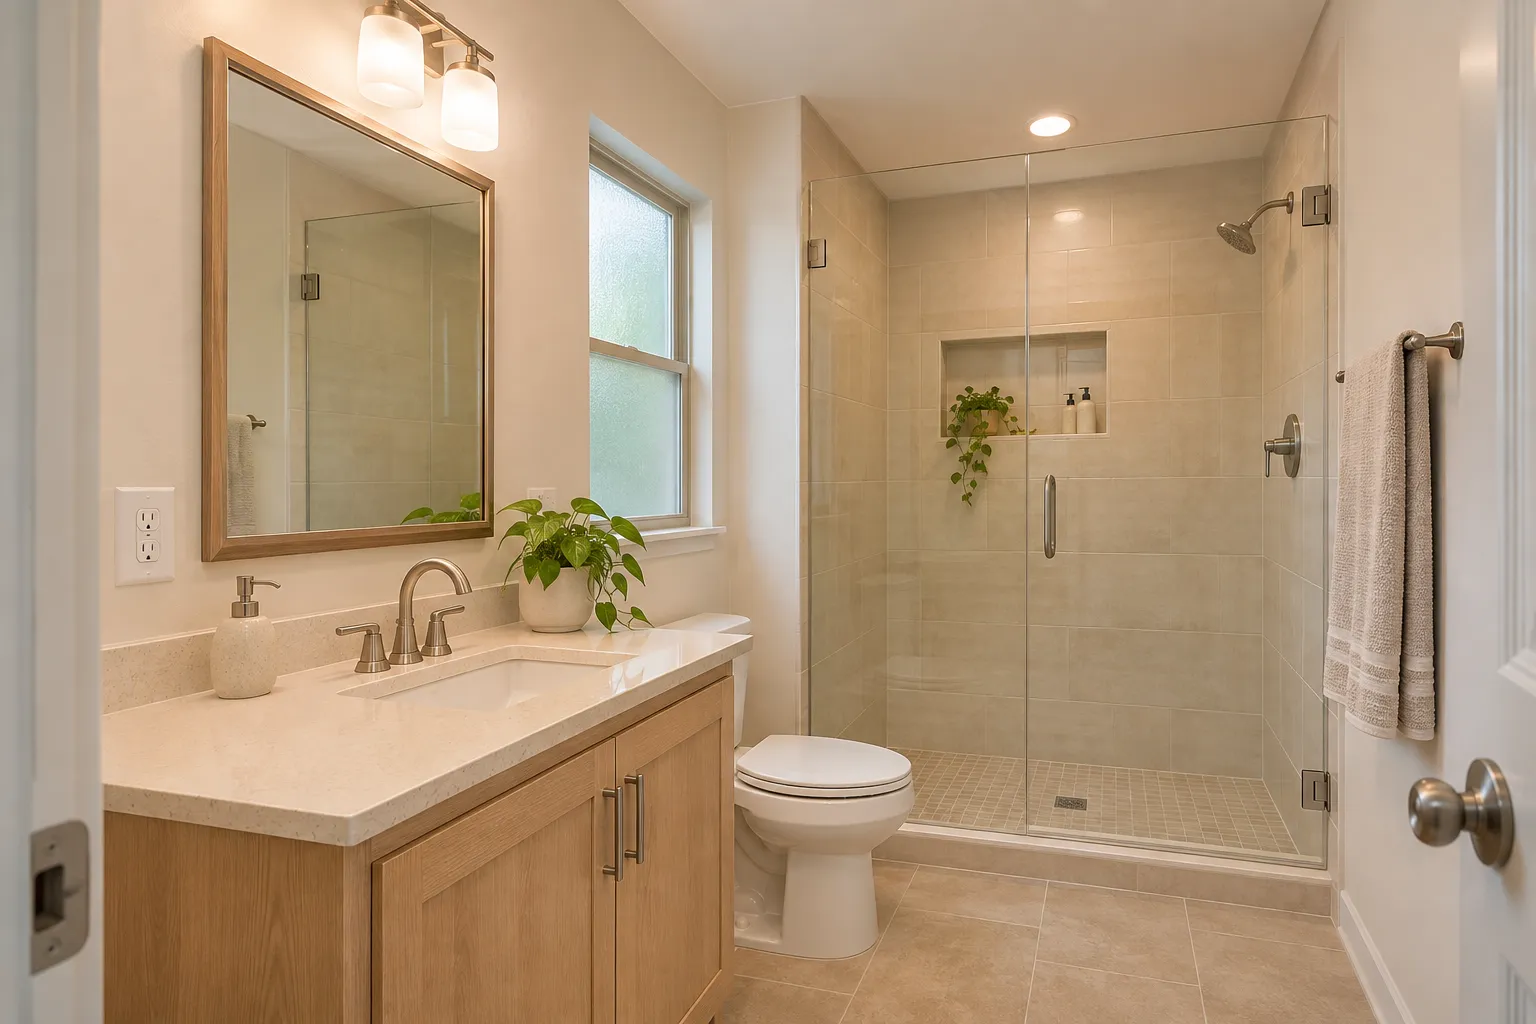
Walk through the room with the written scope. Review doors and drawers, visible tile details, accessory locations, finish transitions, and any remaining adjustments. Discuss fixture operation with the project team and record outstanding items in writing. Where permits were required, ask how the applicable completion and inspection records are provided.
Get care instructions for tile, grout, glass, counters, and fixtures. Confirm first-use timing and which cleaning products are appropriate for the specific materials. Save product names, finish codes, and model numbers. These records help when you later need a matching accessory or replacement part and cannot remember which version you selected.
New Life Painting and Remodeling is based in Leander and helps Austin-area homeowners plan bathroom improvements. Share the property city, current-room photos, what is not working, and whether another bathroom will remain available. We can discuss the scope and prepare a free written estimate. English and Spanish communication is available.
Before demolition: your decision checklist
- Written scope, retained items, exclusions, and finish boundaries are clear.
- Exact product selections and ordering responsibilities are recorded.
- Applicable approvals, trade responsibilities, and inspections are addressed.
- Fixture compatibility, wet-area assembly, and glass handoffs are coordinated.
- Shower and toilet outage periods and an alternative bathroom plan are discussed.
- Access, protection, updates, and written change decisions have an agreed process.
Bathroom remodeling process FAQs
What is the first step in remodeling a bathroom?
Define the problems you want to solve, what will stay, and whether the fixture layout will change. Review the room, selections, written scope, and applicable permit requirements before scheduling demolition.
What is the correct order for a bathroom remodel?
A full remodel generally moves through planning, selections, approvals, protection, demolition, rough work and required inspections, substrate and waterproofing preparation, tile, fixtures, glass, and final review. The exact order depends on the products and approved project scope.
Does waterproofing happen before shower tile?
The selected shower waterproofing assembly must be prepared before its covering tile is installed. Follow that system’s requirements for preparation, connections, testing, and cure times; a finished tile surface alone does not document the work underneath.
When is custom shower glass measured?
Final measurements are commonly taken after the surrounding tile and opening are finished. Coordinate the glass supplier’s requirements early because fabrication and installation may happen after other bathroom finishes are complete.
Can I use the toilet while my bathroom is being remodeled?
Do not assume it will remain usable throughout construction. Confirm which fixtures will be unavailable and when. If it is the home’s only bathroom, agree on an alternative plan before demolition.
Do I need to choose shower fixtures before demolition?
Choose the fixture system and compatible rough components before the relevant wall work. The finish you see and the components inside the wall need to work together, so a general finish choice alone is not enough.
Planning references
Permit guidance checked November 12, 2026: City of Austin Express Permits and Residential Plan Review. Confirm the requirements for your property and approved scope.
For examples of coordinated shower components, see Schluter’s shower-system resources. Follow the instructions for the assembly selected for your project.
Written by New Life Painting and Remodeling, a Leander-based business serving Austin-area homeowners. Our project case studies are linked above so you can review our work alongside this planning guidance.
From research to a written scope
Plan the next step for your bathroom.
Share your city, the rooms you want to change, and what matters most. New Life is based in Leander and serves Austin-area homes. We follow up to discuss the project and next step. Estimates are free; communication is available in English and Spanish.
Tell us what needs to work better, what you want to keep, and which decisions you have already made. Current-room photos help us prepare for the conversation.
Free estimates
Ready to plan your bathroom remodel?
Share your city, your room, and what you want to improve. We’ll discuss the scope and prepare a free written estimate for your home.